
Winter hiking offers a serene and stark beauty that can't be matched by any other season. However, it also presents unique challenges and risks, including extreme cold, unpredictable weather, technical terrain, and the potential for avalanches. Whether you're a seasoned hiker looking to tackle snowy trails, or a beginner eager to experience the tranquility of a winter landscape, proper planning and preparation are key. Here's how to ensure your winter hike is both enjoyable and safe.
How to Plan and Prepare for a Winter Hike
1. Gear Up for the Cold
The right gear can make or break your winter hiking experience. Essential items include:
- Layered Clothing: Dress in layers to manage body temperature and stay dry. Include a moisture-wicking base layer, an insulating layer, and a waterproof outer layer. Don't forget additional layers such as gloves, extra socks, and a beanie. Especially if you are traveling in snow, it's always a good idea to bring along an extra set of dry layers in case you get wet. I typically keep mine in a dry bag. *Remember to avoid wearing cotton at all costs in the winter (because it holds no insulative value and can lead to risk of hypothermia if wet) and stick to warmer materials such as merino wool. Shop: Base Layers at REI · Insulation options at REI: Fleece Jackets / Down Jackets / Synthetic Insulation Jackets · Waterproof Layers · Hats & Beanies · Gloves & Mittens
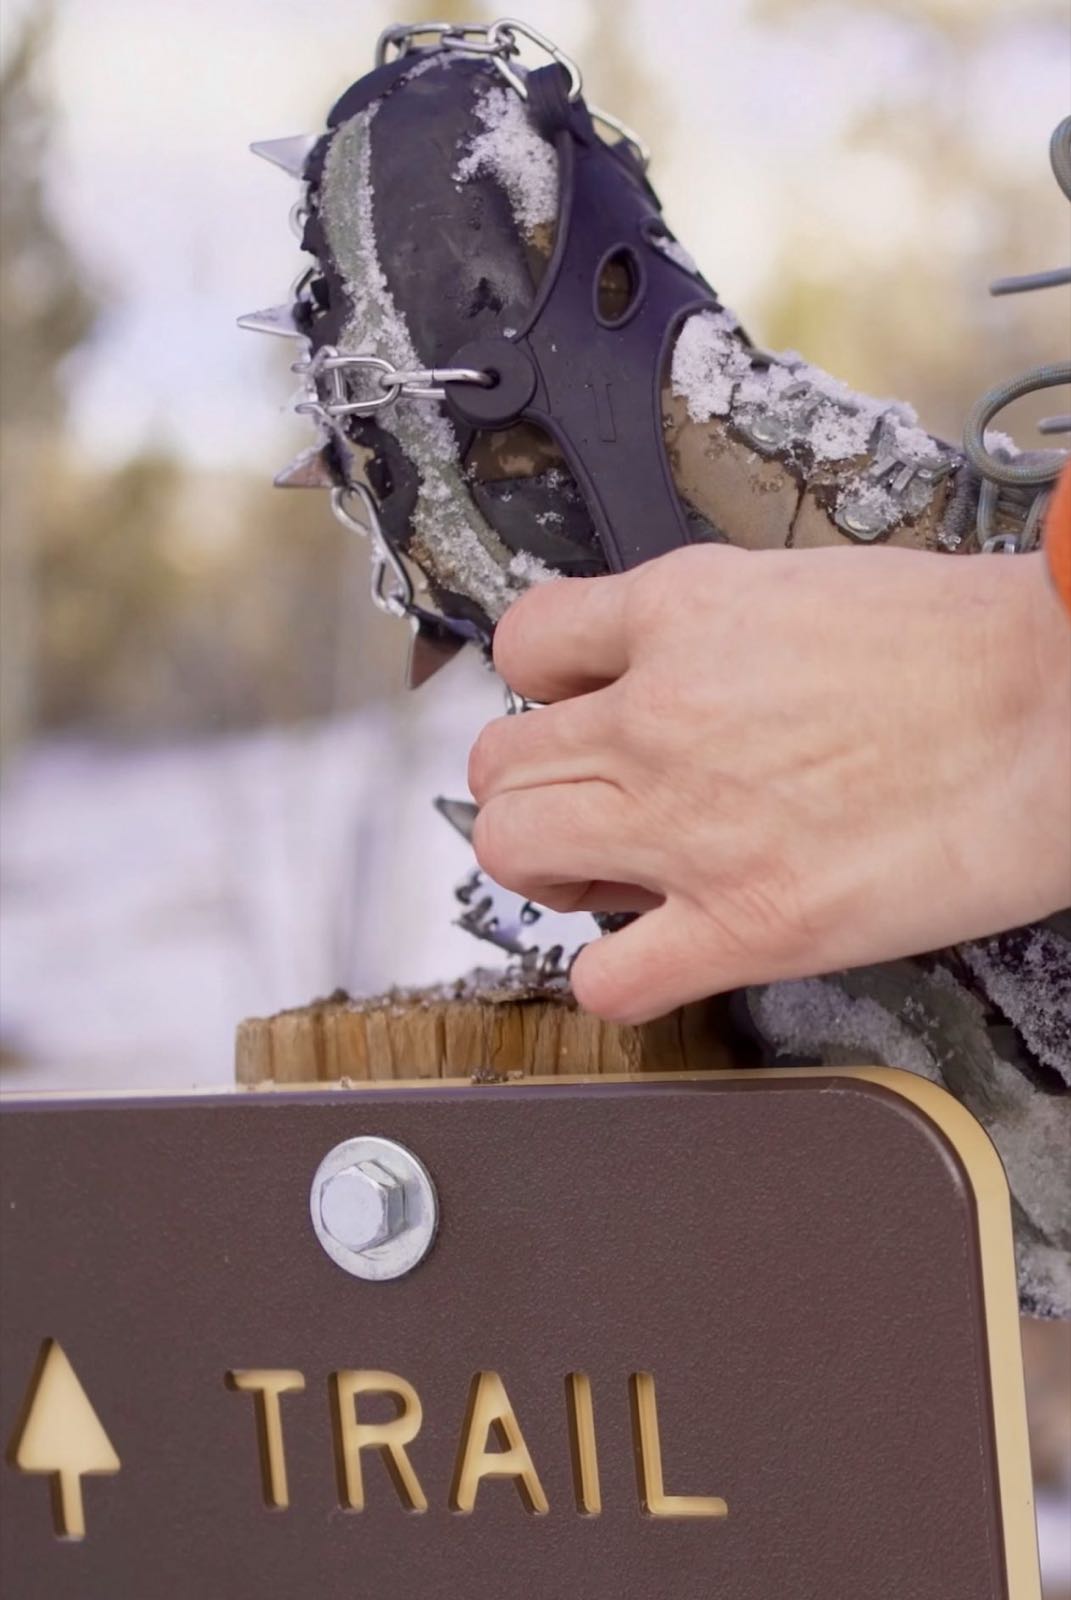
- Traction Devices: Microspikes can help provide stability and traction on icy or snowy trails. Pair these with trekking poles and you're golden! For more info on my recommended traction device systems, check out this video: Hiking Gear I Wish I Didn't Buy (& What I Wish I Got Instead): Microspikes. Shop: Kahtoola MICROspikes (current model) · Trekking Poles
- Insulated, waterproof boots: Keep your feet warm and dry to prevent frostbite. Shop: Oboz Insulated Winter Hiking Boots · Keen Insulated Winter Boots
- Headlamp and Extra Batteries: Winter days are shorter and you may find yourself hiking in low light or low visibility conditions. Always bring extra batteries and a portable charger, just in case. For more information on my recommended headlamps from all price ranges, check out this video: Hiking Gear I Wish I Didn't Buy (& What I Wish I Bought Instead): Headlamps. Shop: Petzl Actik Core (current model). For a portable power option: Browse current power banks and chargers at REI. For the trail, choose a portable battery and compare capacity, weight and device connections. Some chargers in this selection need an external power source.
- Emergency Shelter or Bivvy: A lightweight bivvy paired with an emergency blanket can be a lifesaver if you are caught in bad weather or have to spend the night unexpectedly. And of course be sure to bring along the rest of the 10 essentials. Shop: SOL Emergency Bivvy · SOL Emergency Blanket


2. Plan Your Route Carefully
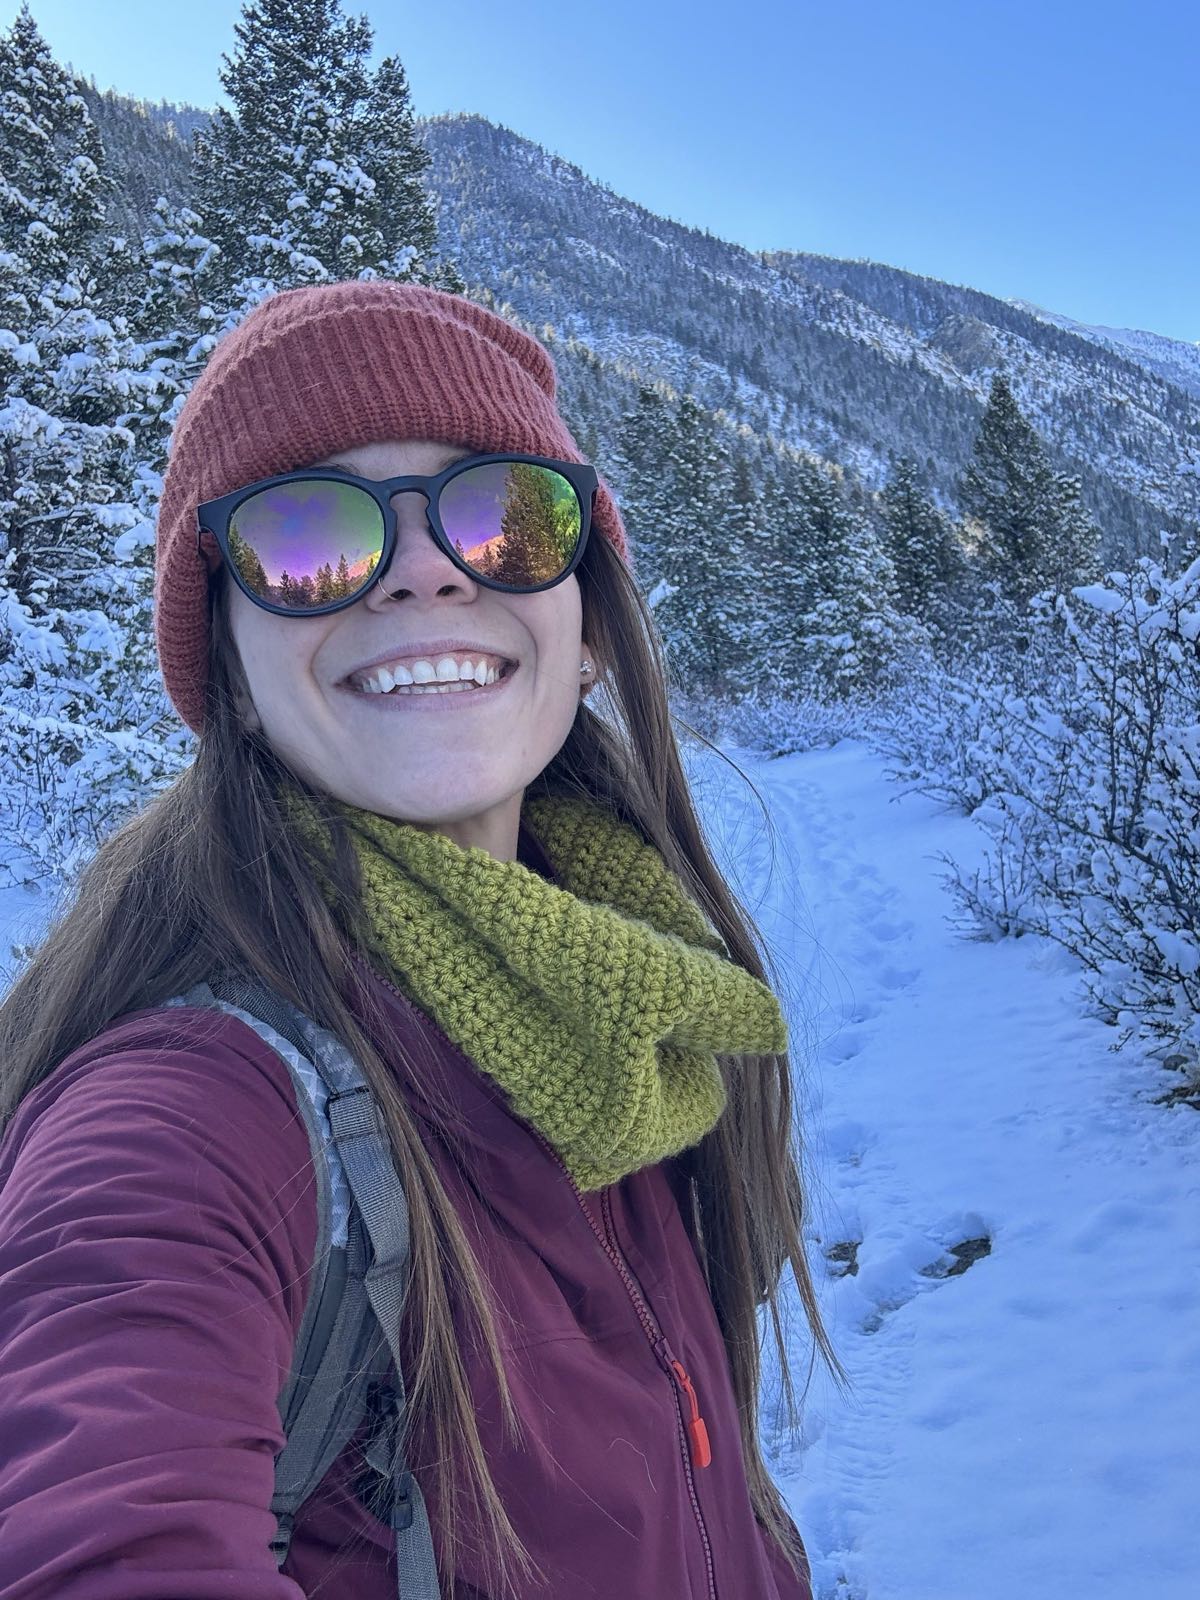
When planning your hike, choose a route that matches your skill level and the current conditions. Consider factors like distance, elevation gain, expected weather, and daylight hours. You should know the trail conditions BEFORE you go.
ALWAYS check the weather forecast before your trip and the day of your trip before you leave, as well as look into avalanche conditions before you head out. Remember that if you are traveling to areas of higher elevations, the weather will not look like it does at lower elevations. Plan for colder temperatures and more extreme winds.
I also always recommend having a backup plan in case conditions change or road closures occur.
In addition, when you are hiking, try your best to stay on trail or on your planned route. Snow can be very deep once you are off trail, and if you aren't prepared you could end up getting trapped. Route-finding skills are extremely important, so always bring a map and compass, and more specifically – know how to use them. NEVER rely on other hikers' tracks, as this can lead you off your route and get you lost. If you are traveling where skiers have been, you should be aware that it's common courtesy to not hike over their existing tracks.
3. Understand Avalanche Safety
If you are heading out on the trails in the winter, it is YOUR responsibility to know and understand how to figure out if your route encounters avalanche terrain.
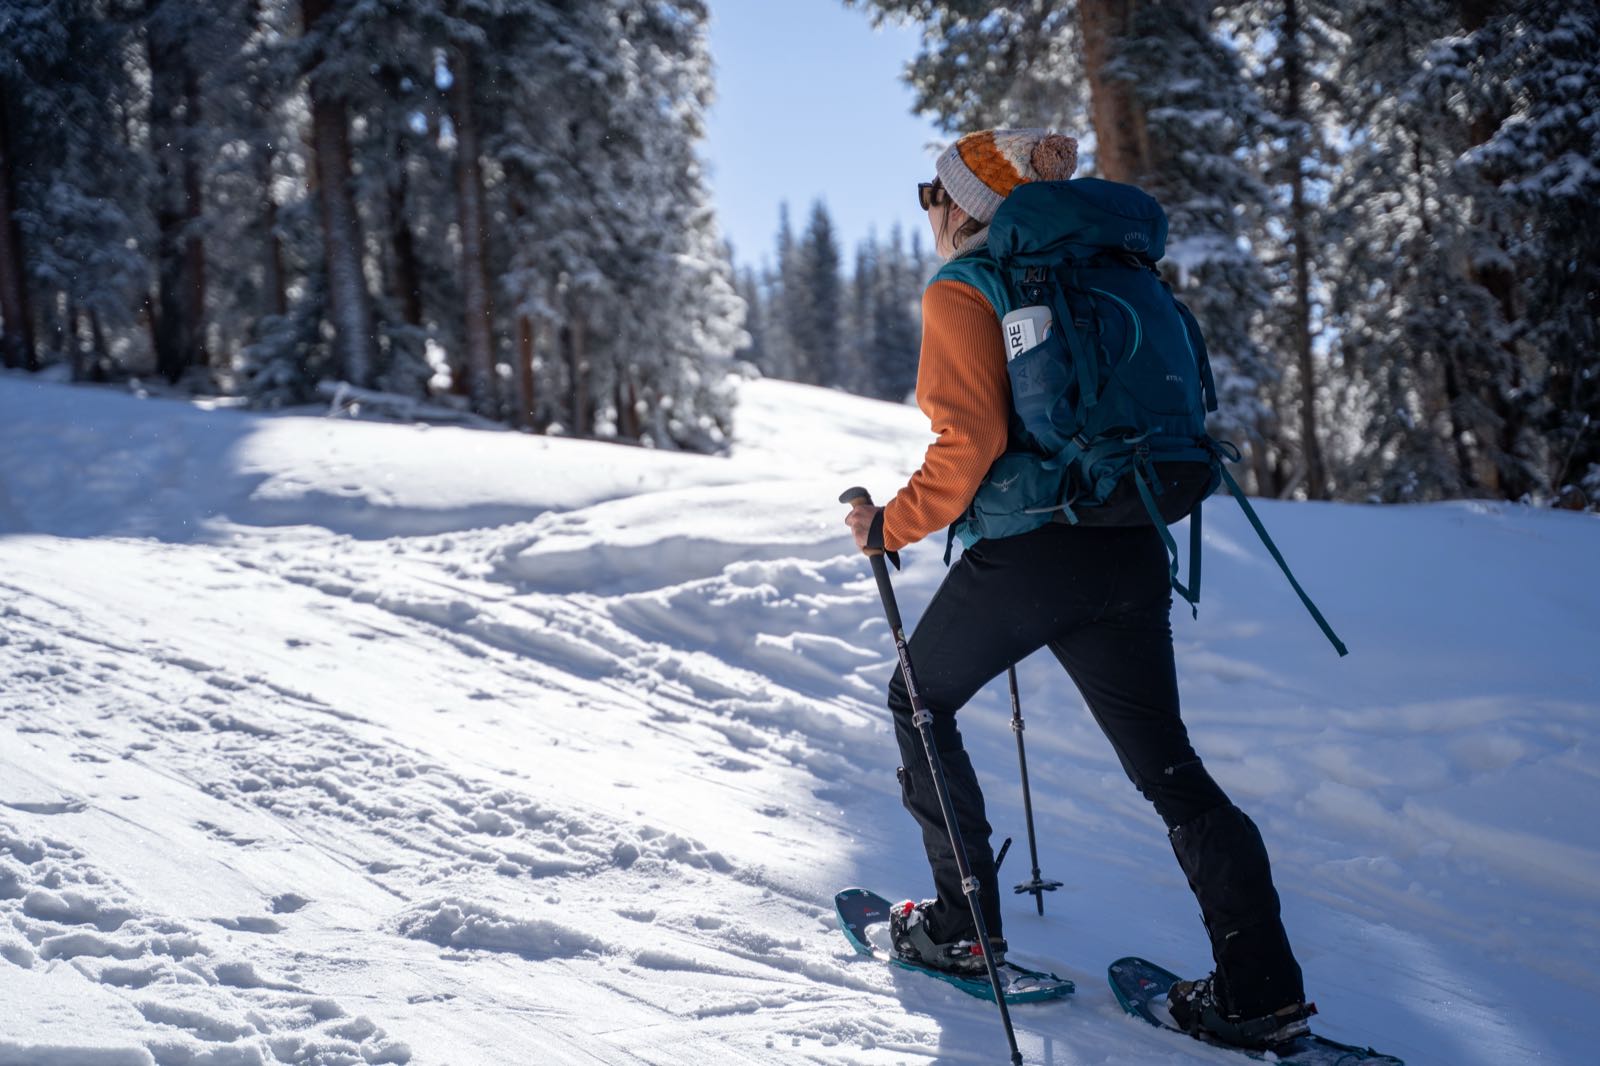
If your planned hike takes you into avalanche terrain, it's crucial to understand and respect the risks involved. Avalanches are a serious hazard in many mountainous areas during the winter months. Before you go, educate yourself on avalanche safety.
This includes recognizing avalanche terrain, understanding the current avalanche forecast, paying attention to recent storms, and knowing how to use avalanche safety equipment, and BRINGING IT WITH YOU if entering avalanche terrain. Avalanche safety equipment includes a beacon, probe, and shovel.
Consider taking an avalanche safety course if you're unfamiliar with these concepts. If you plan on traveling in avalanche terrain, I highly recommend taking an AIARE course and getting certified. This knowledge could truly save your life. Please reach out to me if you ever need help with looking into AIARE courses near you.
4. Stay Nourished and Hydrated
The cold can deceptively suppress your thirst and hunger, but your body needs ample hydration and energy to stay warm and function properly. Pack high-energy, easily consumable foods and keep your water from freezing by using insulated bottles or a thermos, or simply storing your Nalgene upside down in your pack.
I'm also a big fan of bringing along a Thermos of warm tea to stay hydrated and help keep my core warm while I'm hiking. Don't forget to ALWAYS bring more snacks/food and water than you think you will need. If you can handle the extra weight, it's such a nice treat to pack a small backpacking stove to make hot chocolate or cook yourself a warm meal when you arrive at your destination.
5. Hike with a Buddy and Notify a Loved One
Hiking with a partner or group not only adds to the enjoyment but also increases your safety. Even if that's not possible and you opt for going solo, you should always let someone know your plan and expected return time.
To make this even easier I've created a free downloadable Hiking Itinerary that you can fill out or print and fill in, and simply keep in your car for in case rescuers ever needed to come find you; I've even made it double sided so none of your personal information is ever face up. Download my Fillable Hiking Itinerary
6. Know Your Limits & When to Turn Around
The winter environment can be harsh and unforgiving. Be realistic about things such as the weather conditions, your physical condition and outdoor skills, as well as what you're mentally up for that given day. What your best is on one day may not be your best on another day, and that's okay.
Turn back if conditions worsen or the hike is more challenging than expected. Always be willing to turn around if you need to; the mountains will be there another day.
Winter hiking can be a rewarding experience, offering sights and solitude you simply can't find during other seasons. However, it unarguably requires extra caution and preparation. By gearing up appropriately, planning your route carefully, understanding avalanche safety, and knowing the best ways to stay safe on your adventure, you can enjoy the beauty of winter hiking while minimizing the risks. Remember, the goal is not just to reach your destination but to return home safely after your trip.
Looking to take it a step further and feel confident and prepared on your next cold weather adventure? Let's go on a hike together and you can learn everything you need to know to feel self-reliant and capable in the outdoors, year round. Contact Ground Up Adventures
*Please note that some links above are affiliate links, which means I earn a small commission on any purchase you make – at no additional cost to you. If you use any of these links, thank you for your support in advance!
See you on the trail! — Shelby
The Day-Hike Checklist
Get your free Day-Hike Checklist and open it right here. Newsletter signup is optional.